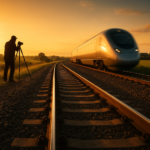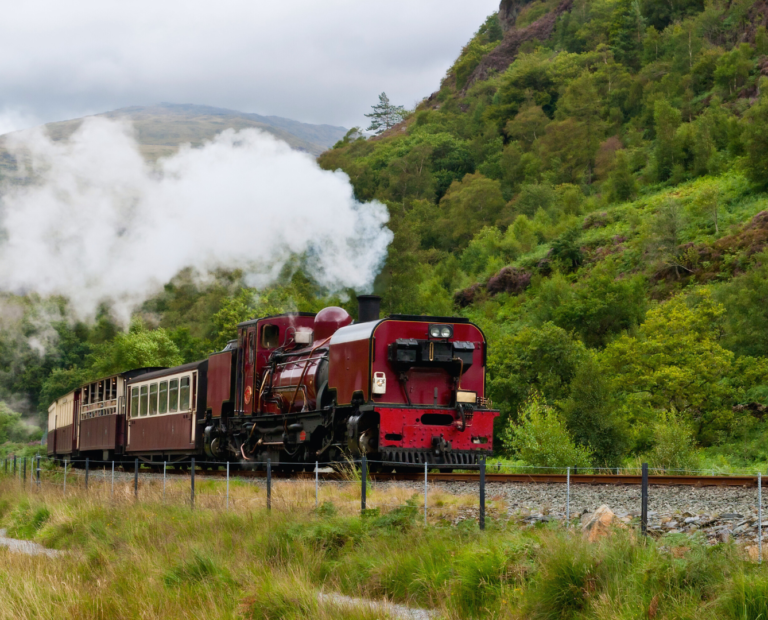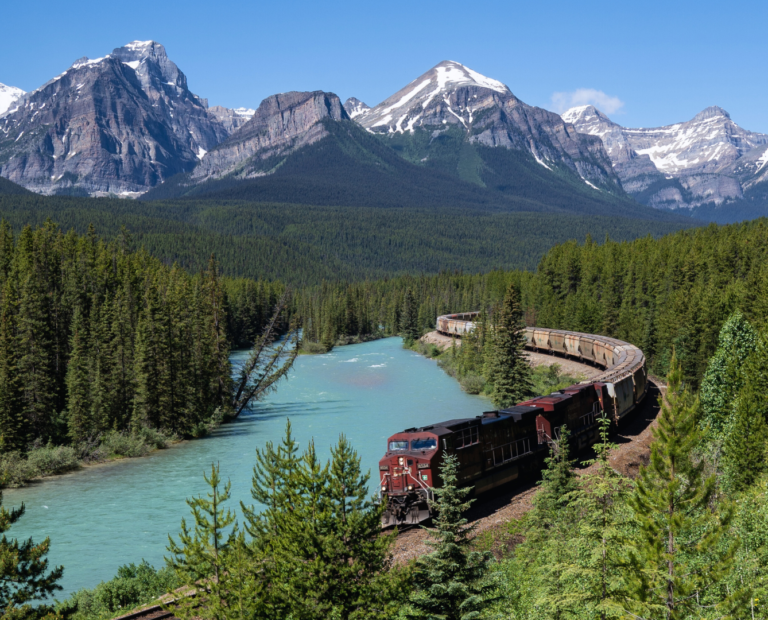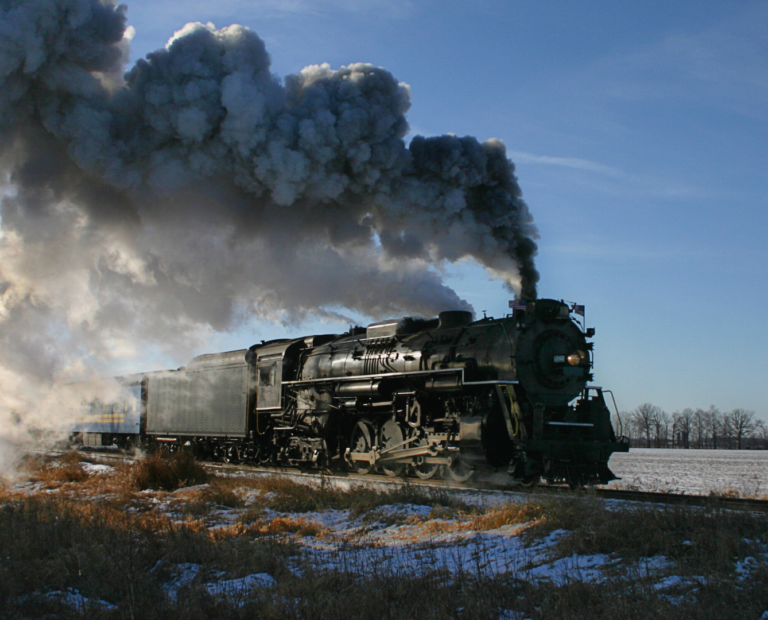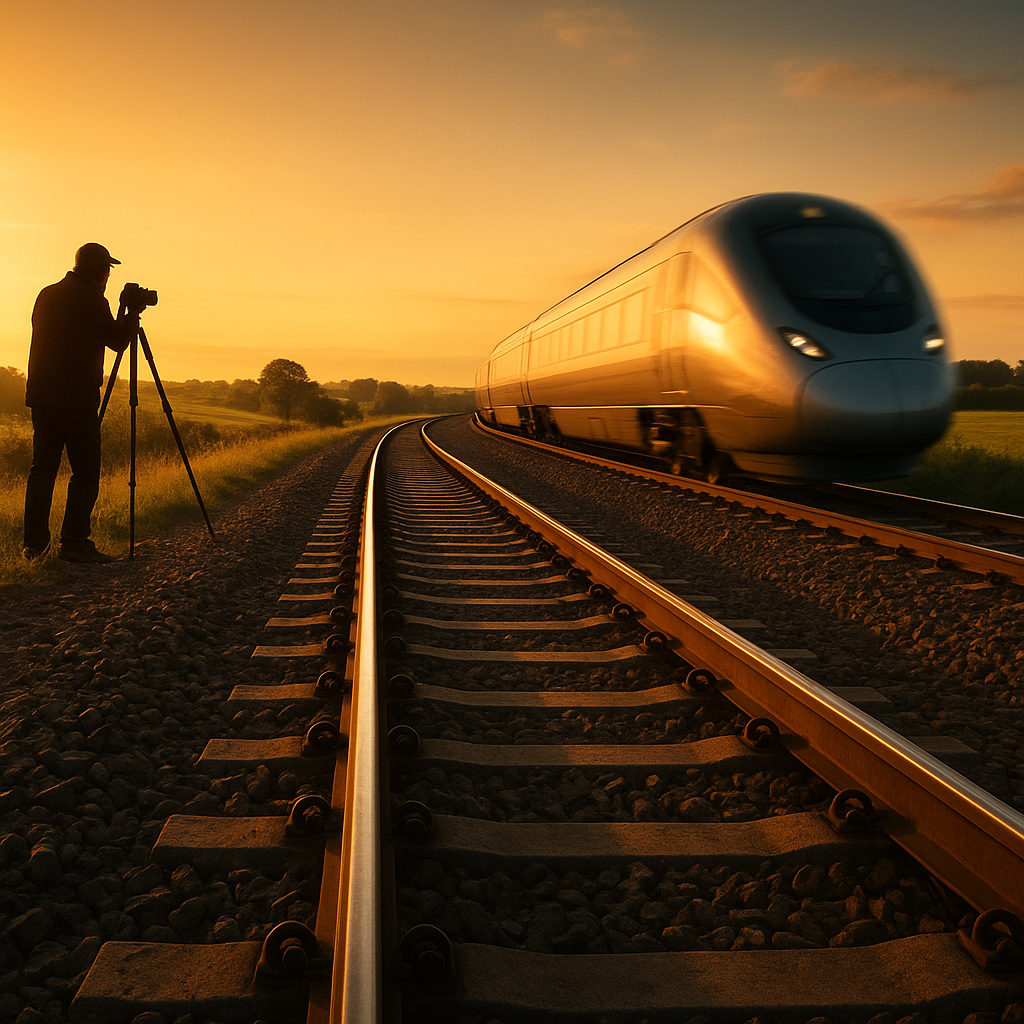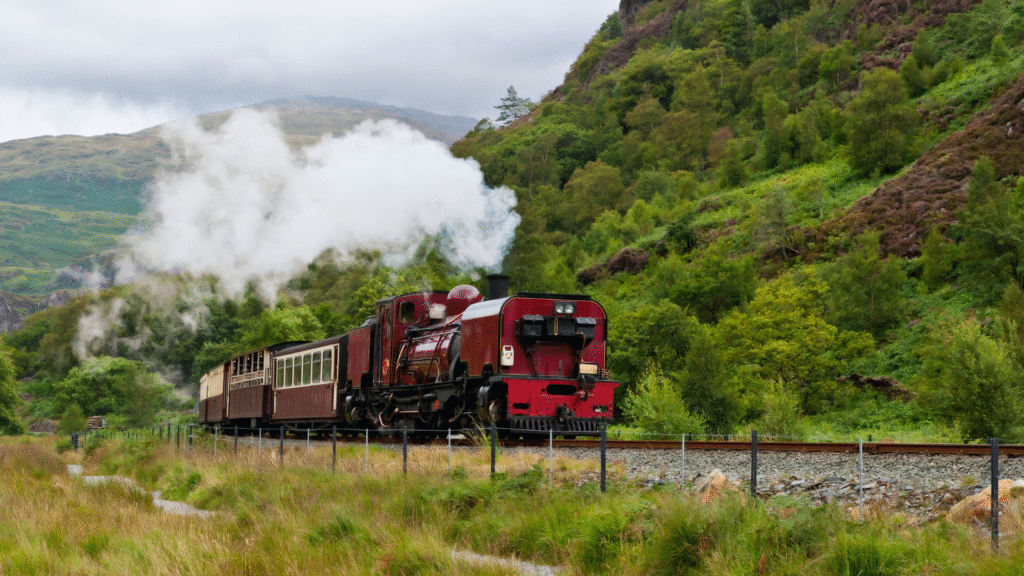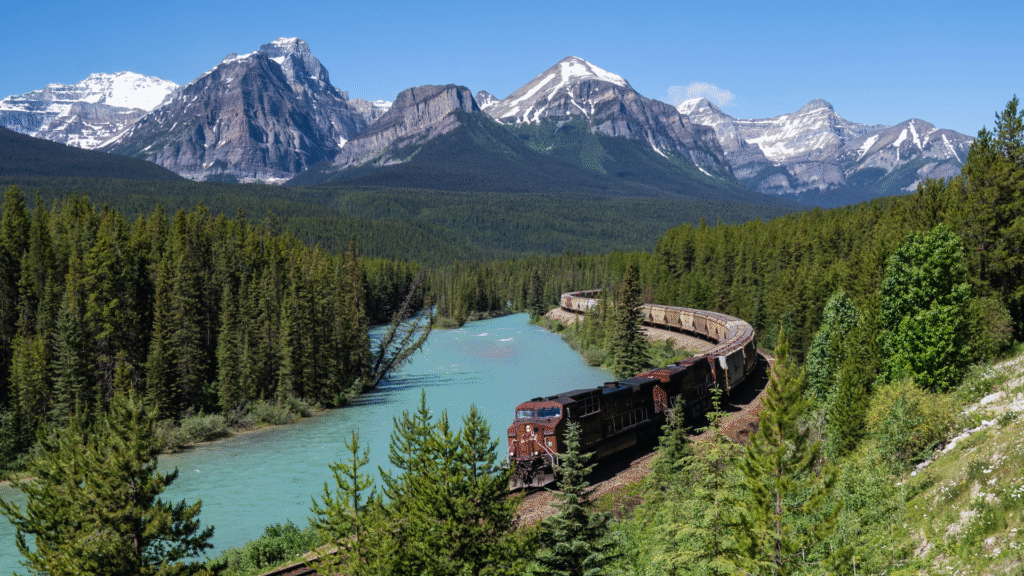
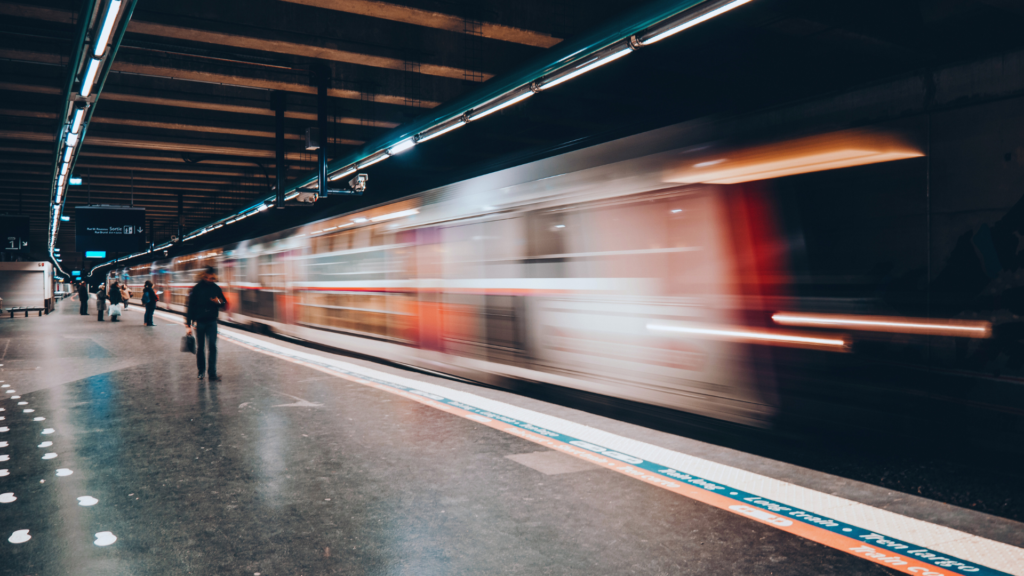
Long-exposure train photography offers a unique way to capture the dynamic movement of trains, revealing the beauty of motion in a single frame. To achieve striking images, it is essential to use a sturdy tripod and carefully consider camera settings such as ISO, shutter speed, and aperture. This technique not only enhances the visual impact of the trains but also allows for creative experimentation with light trails, emphasising speed and direction.
Mastering long-exposure photography requires practice and a clear understanding of how to manipulate light and time. By adjusting the shutter speed, photographers can freeze fleeting moments or create smooth, flowing lines that illustrate the train’s journey. Selecting the right time of day, preferably around a golden hour or during twilight, can further enhance the photographs with softer, more appealing light.
A well-planned approach is crucial for successful train photography. Knowing the schedules of trains and the best vantage points will enable photographers to set up their shots effectively. With the right equipment and patience, stunning long-exposure images of trains can be created, turning an everyday scene into an extraordinary visual narrative.
Equipment Essentials
Selecting the right equipment is crucial for successful long-exposure train photography. The choice of gear, filters, and stability measures all play a vital role in achieving desired results.
Choosing Your Gear
When embarking on long-exposure photography, the choice of camera matters. A DSLR or mirrorless camera is ideal due to their manual settings and image quality. A camera with good image stabilisation can enhance results, but stability is often best maintained with other methods.
A wide-angle lens is recommended, providing a broader frame for capturing expansive scenes. Lenses with a long focal length can also be suitable, but they may require more precise techniques. Additionally, using a remote shutter release eliminates camera shake, which contributes to clearer images during longer exposures.
Utilising Filters
Neutral density (ND) filters are essential for long-exposure photography as they limit the amount of light entering the lens. This enables longer shutter speeds without overexposing the image. A 10-stop filter is particularly effective for achieving significant motion blur, especially with trains in motion.
These filters come in various sizes and strengths. Experimenting with different ND filters allows one to creatively manipulate exposure times. It is advisable to use filters that are compatible with the chosen lens to ensure a secure fit and optimal performance.
Tripod and Stability Solutions
Maintaining stability is paramount in long-exposure photography. A robust tripod is essential to prevent camera shake and ensure sharp images. Look for tripods that can support the camera and lens weight, as well as withstand outdoor conditions.
In addition to a tripod, employing techniques such as placing the tripod on stable ground enhances stability. If the environment is particularly windy, using a sandbag or weight on the tripod can mitigate movement. Remember, stability supports the entire photographic process, ensuring that long exposures yield clear and captivating shots.
Camera Settings and Techniques
Selecting appropriate camera settings is essential for successful long-exposure train photography. Key elements include mastering shutter speed, adjusting aperture and ISO, and ensuring precise focus.
Mastering Shutter Speed
Shutter speed is critical in long-exposure photography, especially for capturing trains in motion. Slower shutter speeds, typically ranging from 1/2 second to several seconds, help to create the desired motion blur.
Utilising Bulb mode can be advantageous for very long exposures. This setting allows the photographer to keep the shutter open for as long as needed. For dynamic compositions, a combination of fast and slow shutter speeds can convey motion and emotion effectively.
It’s crucial to use a tripod to maintain stability during these extended periods. Any movement can result in unwanted blur. Remote triggers or timer settings can further mitigate camera shake.
Aperture and ISO Adjustments
Aperture affects both exposure and depth of field. For long exposures, a smaller aperture (higher f-stop number) is often recommended. This reduces light entering the lens, preventing overexposure while enhancing depth of field.
Using the lowest ISO setting achievable is key for reducing noise in images. An ISO value of 100 or 200 is recommended, as higher values can introduce grain, especially in prolonged exposures.
Aperture Priority mode may allow for ease of adjustments, letting the photographer concentrate on selecting the right aperture while the camera intelligently adjusts shutter speed.
Focusing for Clarity
Achieving sharp focus is paramount in long-exposure train photography. Manual focus is typically preferred in these scenarios, as autofocus may struggle under low light conditions or with rapid movement.
Focusing on a stationary object close to the desired focal point can aid in setting precise focus. Once achieved, the camera can be set to take the exposure without needing to refocus.
Pre-focusing allows the photographer to easily track the train’s approach without losing clarity. Using a depth-of-field calculator can also enhance focus management for optimal results.
Composition and Timing
Effective composition and timing are crucial for long-exposure train photography. These elements can significantly enhance the aesthetic appeal and clarity of images featuring moving trains against various backdrops.
Scouting Locations
Choosing the right location is essential. Photographers should seek vantage points that provide an unobstructed view of the train’s path. This could include bridges, elevated platforms, or open fields, allowing for cleaner lines of sight.
Natural light plays a pivotal role in composition. Early mornings or late afternoons offer golden-hour lighting that can enhance the scene. Landscapes, cityscapes, or rural settings can add depth, so photographers should carefully consider the background elements that complement the train.
Focal lengths vary; wide-angle lenses capture more of the surrounding scenery, while longer lenses can isolate the train. Ensuring the composition includes leading lines can direct focus towards the subject, enhancing visual impact.
Capturing Motion
Motion blur is an integral aspect of long-exposure photography. It conveys speed and dynamism, transforming a static image into something more evocative. The ideal exposure time will depend on the speed of the train and the desired effect.
Using a tripod stabilises the camera, allowing for longer exposures without introducing a camera shake. Photographers should utilise remote shutter releases or timers to prevent motion during capture.
Incorporating stationary subjects, such as trees or buildings, can help emphasise the train’s movement by creating contrast. Light trails are another compelling feature, particularly in urban environments. They can be captured by using a longer exposure to capture the train’s lights while isolating the motion against a dark or contrasting background.
Post-Processing Techniques
Post-processing plays a crucial role in long-exposure train photography. It helps to enhance images, address potential issues, and achieve the perfect final look. The following techniques cover key aspects of this process.
Enhancing Long Exposures
To improve long-exposure train photographs, adjusting contrast, brightness, and saturation can significantly enhance visual appeal. Software such as Adobe Lightroom or Photoshop provides tools for these adjustments.
Using curves can refine tonal ranges, ensuring highlights and shadows are well-defined. This adjustment adds depth to the image and enhances the feeling of movement often associated with train photography.
Incorporating light painting can also be effective. This technique involves adding soft light areas selectively, creating a sense of dynamism without distracting from the main subject. By blending this with a long-exposure image, the train’s motion can appear more dramatic.
Dealing with Noise and Blur
Long exposures can introduce unwanted noise and blur. To tackle noise, applying noise reduction tools in post-processing software is essential. These tools can help reduce grainy textures, especially in darker areas.
It’s also beneficial to address hot pixels, which appear as bright dots in long-exposure images. Removing them manually or using software algorithms can enhance the overall quality of the photograph.
For blur management, ensure that any motion blur serves a purpose and enhances the image’s story. If certain areas are too blurred, selective sharpening can help restore detail without affecting the entire image.