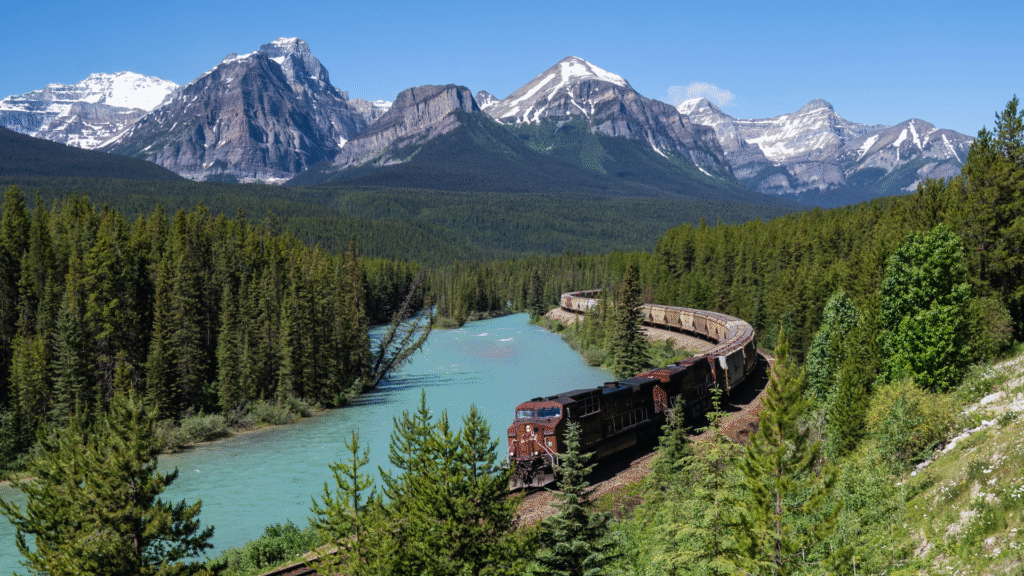
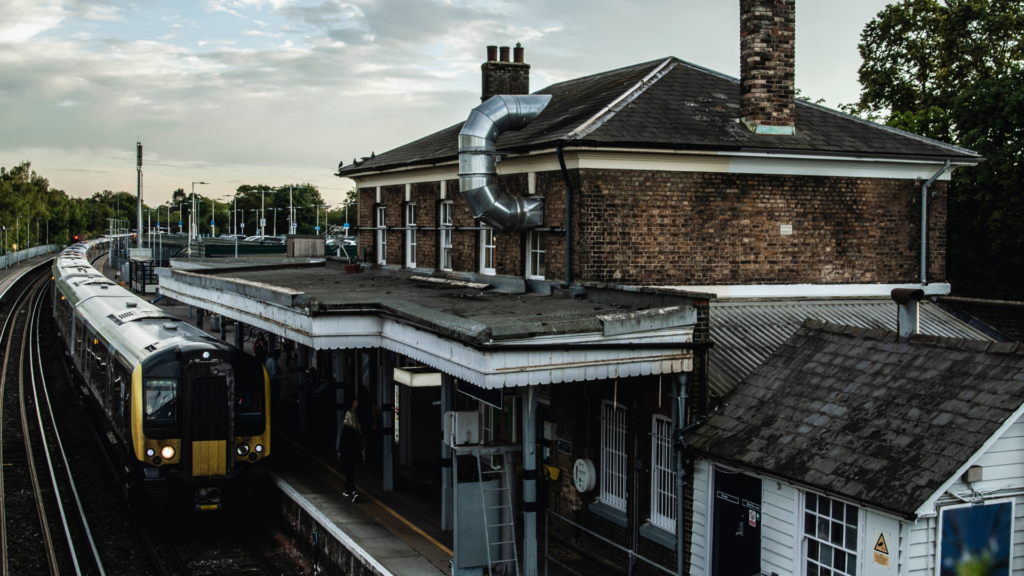
Capturing stunning photos of trains can be rewarding, yet it requires the right smartphone settings to truly shine. Adjusting settings such as HDR, resolution, and manual focus can significantly enhance the quality of train photographs. With the right techniques, anyone can elevate their mobile photography skills.
Smartphone cameras have advanced remarkably, offering various options to optimise image quality. Understanding features like exposure compensation and grid lines can help frame those perfect shots as trains zoom by. This blog post will provide essential tips to maximise smartphone capabilities for train photography.
Readers will discover how simple adjustments can make a notable difference in their images. Whether they are a novice or a seasoned photographer, utilising these settings can lead to impressive results.
Understanding Train Photography Fundamentals
Train photography requires a solid grasp of several technical elements. Mastery of shutter speed, aperture, and ISO settings will significantly impact the effectiveness of the photographs captured. Each factor plays a crucial role in how motion, detail, and light are represented in train images.
Mastering Shutter Speed and Motion Blur
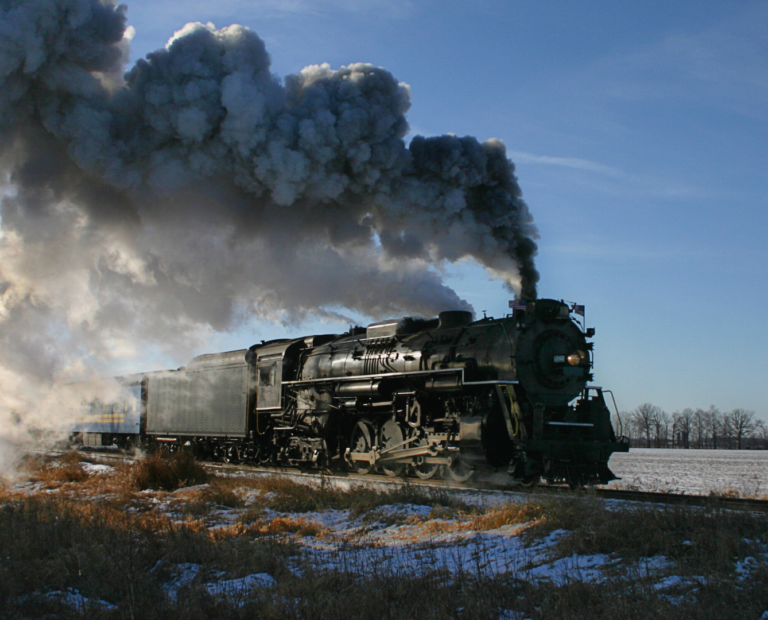
Shutter speed is critical for capturing trains in motion. A fast shutter speed, typically 1/500 seconds or higher, freezes the action, preventing motion blur. This is ideal for highlighting details such as the train’s structure, wheels, and any moving elements.
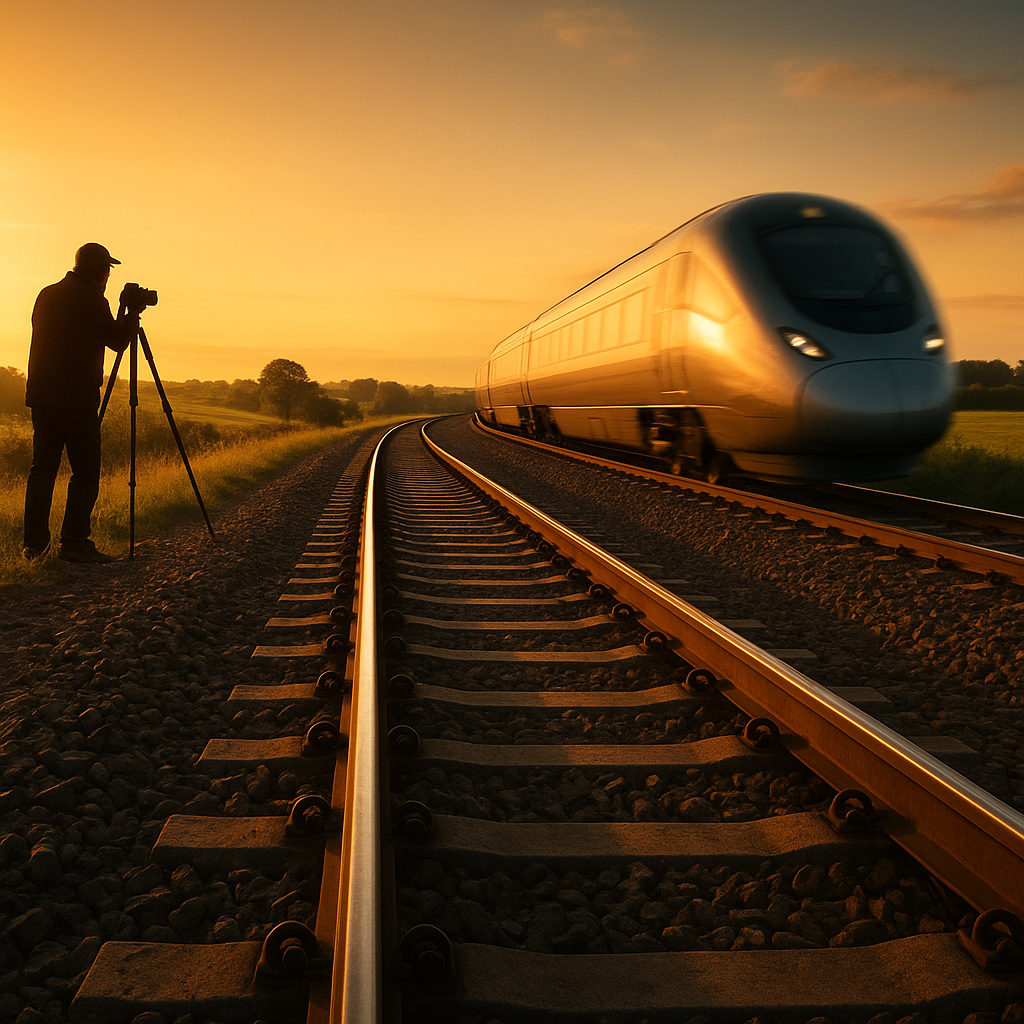
Conversely, using a slower shutter speed (around 1/125 seconds) introduces artistic motion blur, conveying speed and dynamism. This technique tends to create a sense of movement, with the train appearing blurred against a sharper background. Choosing the right shutter speed depends on the desired effect, but experimenting with varying speeds will yield different results.
Aperture and Depth of Field Considerations
Aperture influences depth of field (DoF), which determines how much of the image is in focus. For train photography, a wider aperture (lower f-number, e.g., f/2.8) creates a shallow DoF. This blurs the background, emphasising the train as the subject.
On the other hand, a narrower aperture (higher f-number, e.g., f/11) increases DoF, capturing more detail in both the train and the surrounding landscape. This is suitable for scenic shots where context adds value. Adjusting aperture settings affects light intake, so balancing it with shutter speed is essential.
ISO and its Impact on Train Photos
ISO measures the camera’s sensitivity to light. A lower ISO (e.g., 100-200) prevents grainy images and is perfect for bright conditions. On the other hand, higher ISO settings (e.g., 800-1600) allow for shooting in low-light environments but can introduce noise.
In train photography, understanding the relationship between ISO and other settings is key. It may be necessary to increase ISO when capturing trains in dimly lit stations or during twilight. Maintaining optimal image quality while adapting ISO levels is vital for achieving clear and detailed train photographs.
Composition Techniques for Dynamic Train Imagery
Effective composition is vital in capturing dynamic train photographs. Techniques such as the Rule of Thirds, leading lines, and selecting the right vantage point can significantly enhance visual impact.
Incorporating the Rule of Thirds
The Rule of Thirds is a fundamental technique that helps create balanced and engaging photographs. By dividing the frame into a 3×3 grid, the photographer can place the train and other important elements along these lines or at their intersections.
For instance, positioning the train to occupy one of the intersecting points can draw the viewer’s eye and create a sense of movement. This technique helps prevent the image from feeling static. Additionally, incorporating elements like trees or signals at the other intersections can add depth, making the scene more compelling.
Using Leading Lines and Train Tracks
Leading lines are essential in guiding the viewer’s eye through the image. Train tracks naturally provide lines that direct attention towards the train or point of interest.
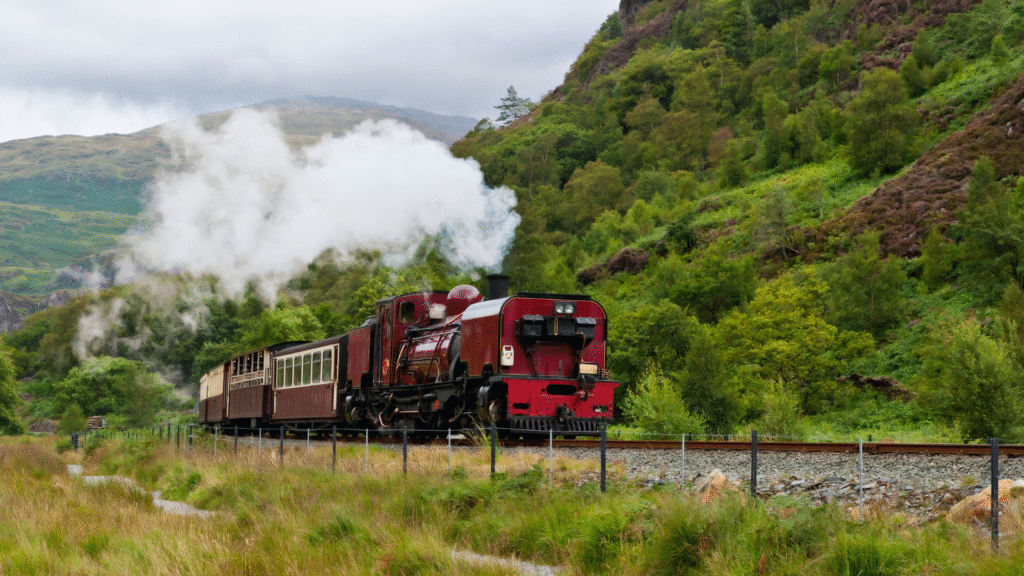
Photographers should frame the shot so that the lines continue into the background, enhancing the sense of distance and perspective. Placing the camera at a lower angle can also accentuate the lines, making them more pronounced. Using curves in the track can add an artistic twist, creating a dynamic composition that draws the viewer into the photograph.
Finding the Perfect Vantage Point
Selecting the right vantage point is crucial for capturing compelling train images. Photographers should scout various locations to find the most interesting angles and perspectives.
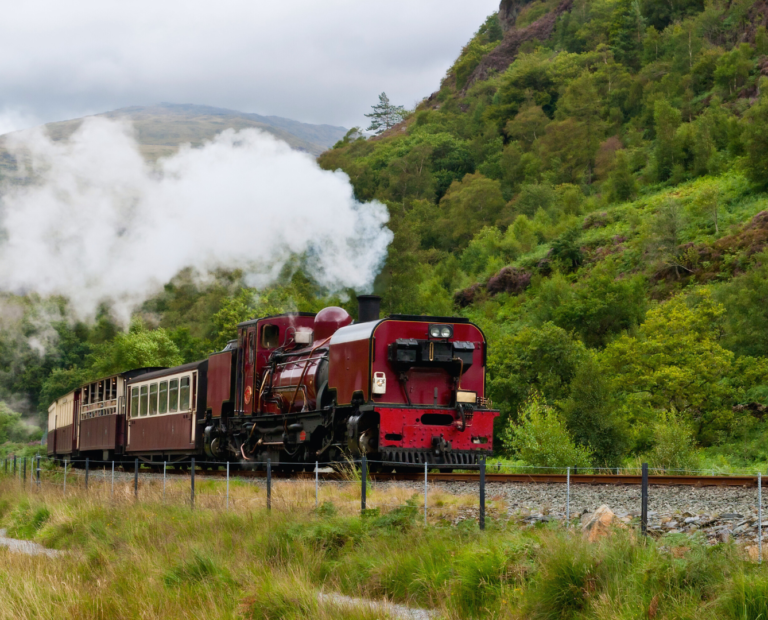
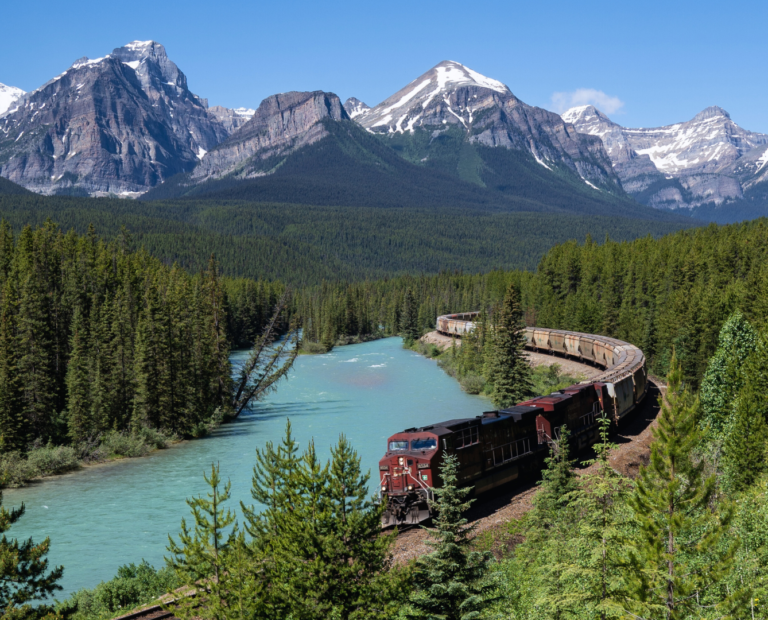
Elevated viewpoints, such as hills or bridges, can provide a different outlook, showcasing the train in its environment. Conversely, eye-level shots can create a more intimate feel, making the viewer feel closer to the action. Experimenting with foreground elements—such as fences or bushes—can lead to unique compositions that enhance the overall image quality.
Camera and Lens Settings for Optimal Clarity
Achieving clarity in train photography involves precise camera settings, appropriate lens selection, and techniques to minimise blur. By understanding these elements, photographers can significantly enhance their results.
Selecting the Right Lenses
When photographing trains, the choice of lens plays a crucial role. A wide-angle lens can capture the expansive scenery surrounding a train, providing context and depth. It’s particularly effective for shots in tight spaces or when the photographer is close to the subject.
Alternatively, a zoom lens offers versatility, allowing for both distant captures and detailed close-ups. This adaptability is beneficial in dynamic environments where a train might be moving quickly or positioned at varying distances.
For optimal clarity, consider lenses with a lower aperture number (f/2.8 or lower). This setting enhances depth of field, enabling sharper backgrounds and a more focused subject.
Understanding Camera Shake and How to Avoid It
Camera shake is a common challenge in train photography, especially at slower shutter speeds. This movement can blur images and diminish overall sharpness. To combat this, using a stabilised lens or camera can significantly reduce vibrations during the shot.
Additionally, adopting a firm grip on the camera helps maintain stability. Photographers should use both hands and keep elbows close to the body.
Utilising a tripod can further minimise shake, especially during low-light conditions or when using longer focal lengths. If a tripod isn’t available, resting the camera on a stable surface can also help.
Utilising Shutter Priority Mode
Using shutter priority mode allows photographers to manually set the shutter speed while the camera adjusts the aperture automatically. This mode is particularly useful for capturing fast-moving trains.
Setting a faster shutter speed (1/500 sec or faster) freezes motion and creates crisp images. Conversely, slower speeds can be used creatively to convey movement through blur.
A polarizing filter can enhance photos taken in this mode by reducing glare from reflective surfaces, such as wet tracks, while boosting saturation in colours. This is especially valuable on sunny days when light conditions can be challenging.
Advanced Tips for Unique Train Photography
Capturing unique train photographs involves using the right techniques to enhance the visual appeal. By focusing on specific settings and timing, photographers can create stunning images that stand out.
Shooting from the Window Seat
For those on a train, the window seat is the prime spot for photography. This position offers direct access to the surroundings, allowing for beautiful landscape shots.
To ensure clarity, keep the window clean and use a lens hood to reduce glare. It can be beneficial to press the camera against the glass to minimise movement and vibrations.
When framing a shot, consider the rule of thirds. This technique creates a balanced composition. Including elements like passing scenery or railway stations can add depth to the image.
Best Times for Photography: Golden Hour and Beyond
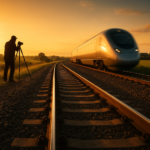
Timing plays a crucial role in train photography. Golden hour, just after sunrise or before sunset, provides soft, warm light that enhances photographs. This light can accentuate colours and textures, creating a more inviting image.
Beyond golden hour, consider shooting during the blue hour, when the sun is just below the horizon. This period offers a cooler light that can create a dramatic atmosphere.
When on high-speed trains, a steady camera or a fast shutter speed is essential to freeze motion effectively. Adjusting the ISO settings may also help in varying light conditions, keeping images sharp.
Minimising Reflections in Train Windows
Reflections can often obscure photographs taken through train windows. To combat this, photographers should aim to angle their shots away from direct light sources.
Using a polarising filter can significantly reduce reflections and enhance the saturation of colours. Additionally, ensuring that the camera lens is as close to the window as possible can further diminish unwanted glare.
If the reflections persist, consider taking images at off-angled positions. This method may allow for clearer views of the outside scenery while still capturing the essence of train travel.