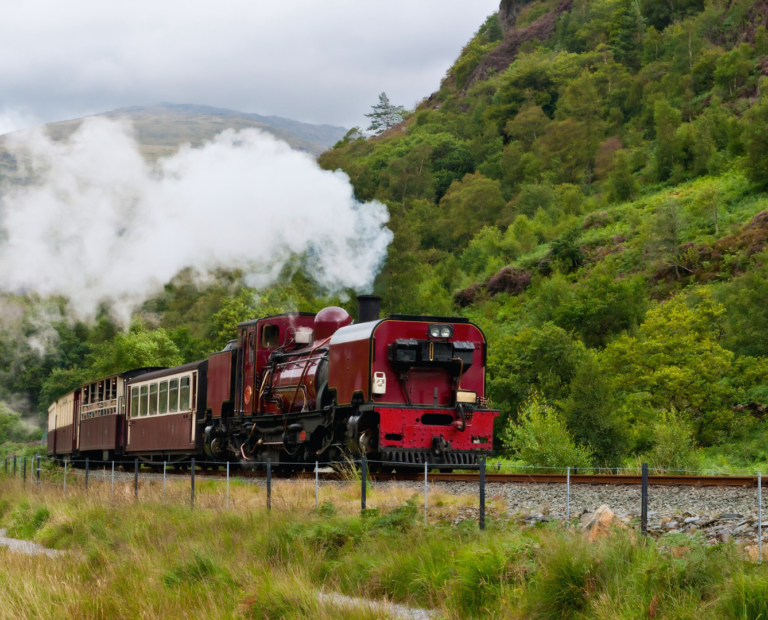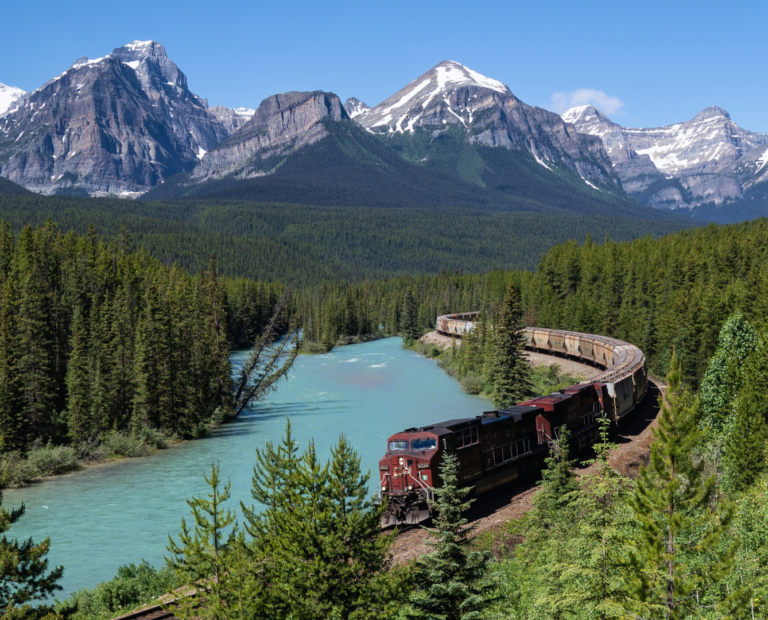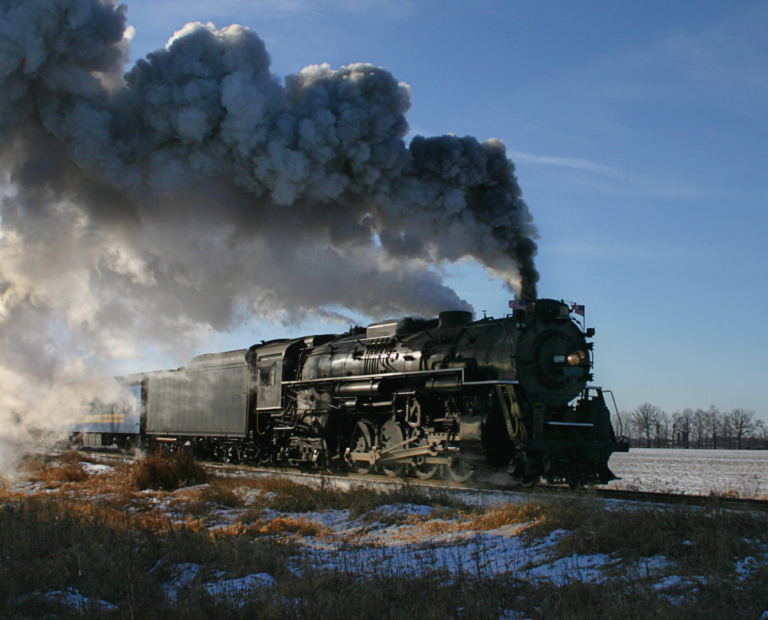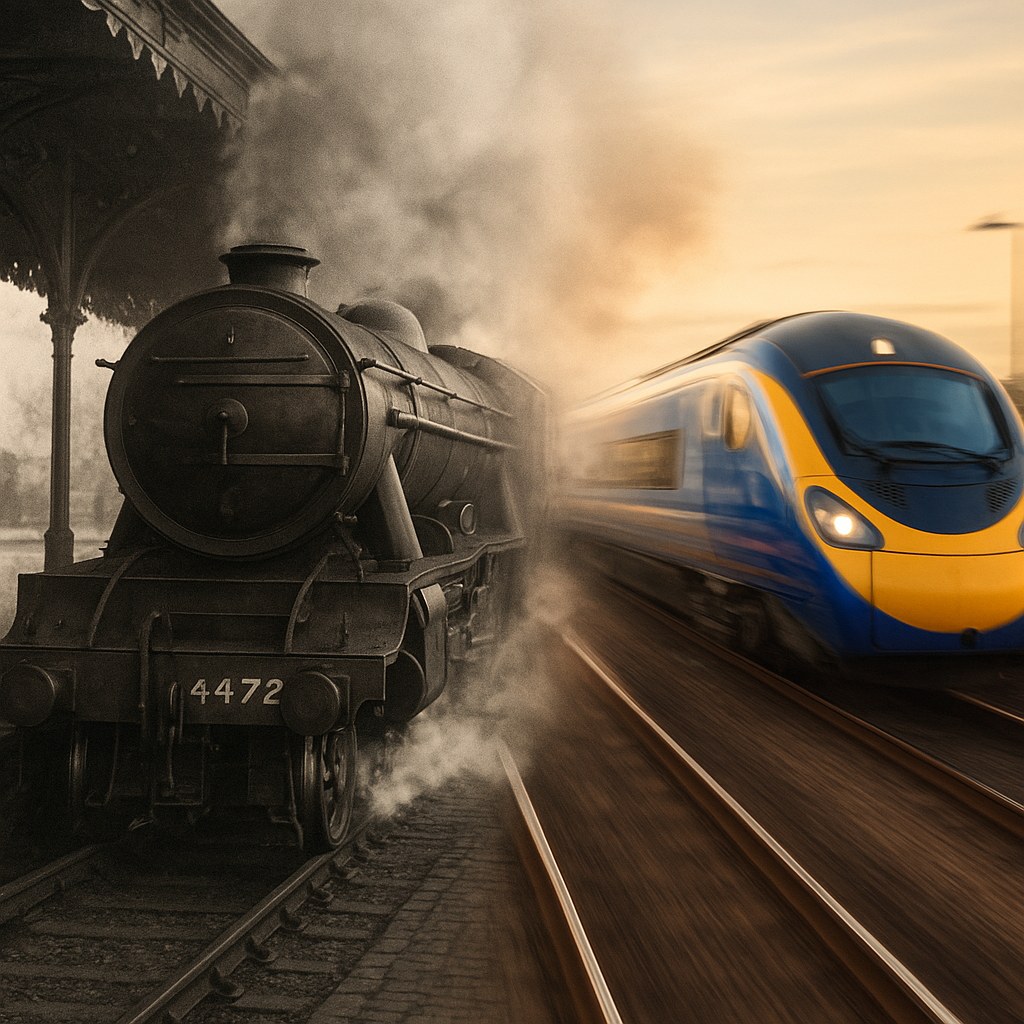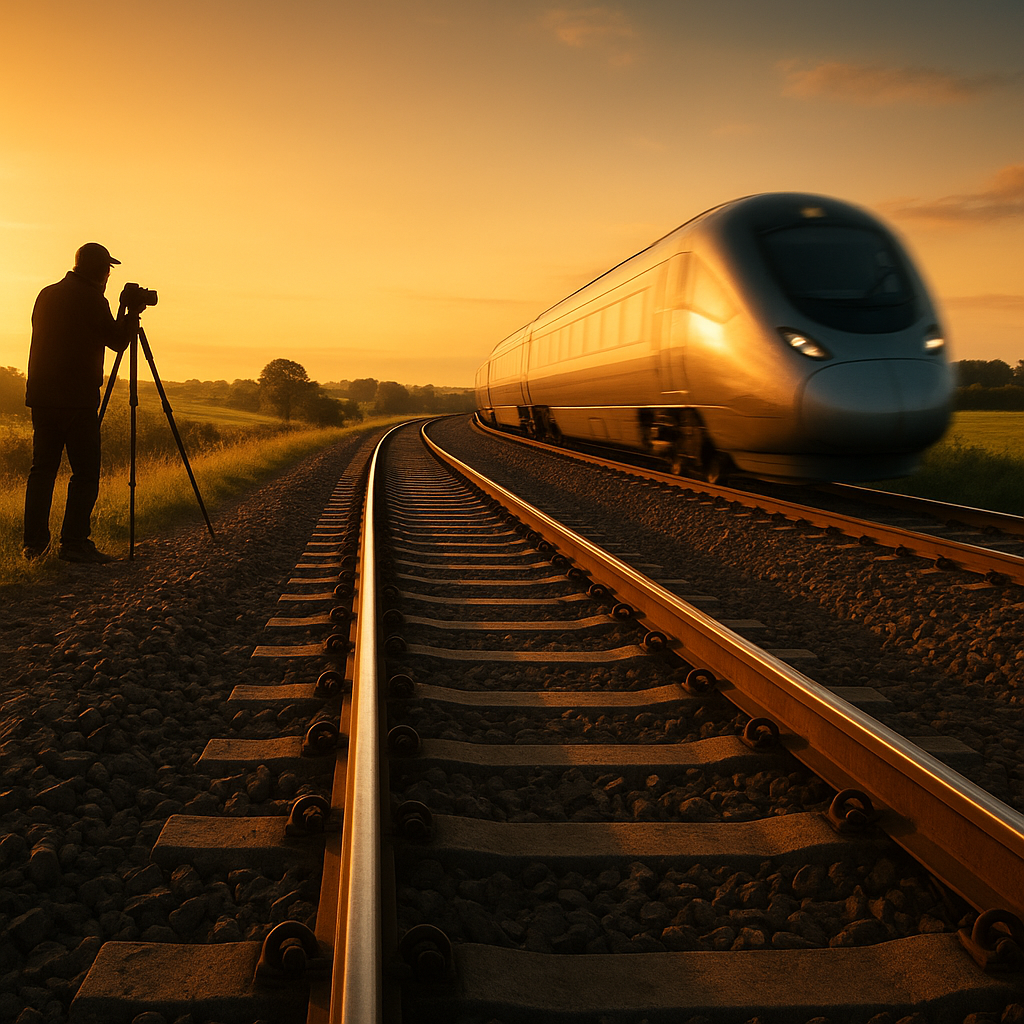

Train photography combines factors of timing, location, and technique, making it an engaging hobby for those who appreciate the beauty of locomotion. A beginner’s guide to train photography offers essential tips and insights that help aspiring photographers capture compelling images of trains in motion and at rest. Understanding the basics of photography, such as composition, lighting, and camera settings, is crucial for creating striking images that tell a story.
Learning photography fundamentals can greatly enhance the quality of train photographs. By grasping the relationship between shutter speed, aperture, and ISO, photographers can effectively convey movement and detail in their shots. With the right knowledge and practice, anyone can master the art of train photography and produce stunning visuals that celebrate the world of trains.
Choosing the best locations and times for capturing trains can transform ordinary images into extraordinary ones. By exploring popular viewing spots, understanding train schedules, and experimenting with different angles, photographers can discover unique perspectives. This guide will equip beginners with practical advice to embark on their train photography journey with confidence.
Understanding the Basics of Photography
Photography relies on a few fundamental concepts that shape how images are captured. Key elements include exposure, aperture, shutter speed, and ISO. Each component works together to ensure a well-balanced photograph.
Exposure and Exposure Triangle
Exposure determines how much light reaches the camera sensor, impacting the image’s brightness. It is influenced by three main factors: aperture, shutter speed, and ISO, collectively known as the exposure triangle.
- Aperture: Controls the amount of light entering the lens.
- Shutter Speed: Dictates how long the sensor is exposed to light.
- ISO: Adjusts the sensor’s sensitivity to light.
Understanding how these elements interact can help achieve the desired exposure. If one aspect is modified, adjustments to the others are typically necessary to maintain balance.
Aperture, Depth of Field, and Bokeh
Aperture refers to the size of the opening in the lens. Measured in f-stops, a lower f-stop allows more light and creates a shallow depth of field. This effect isolates subjects from the background.
- Depth of Field (DoF): The range of distance that appears sharp. A shallow DoF makes the background blurry, which is often desirable in portraits.
- Bokeh: Describes the aesthetic quality of the out-of-focus areas. Smooth, pleasing bokeh can enhance an image.
Mastering aperture settings can elevate train photography by highlighting the subject against beautifully blurred details.
Shutter Speed and Motion
Shutter speed is crucial for freezing or blurring motion. It is measured in seconds or fractions thereof. Faster shutter speeds freeze movement, while slower speeds capture motion blur, adding a sense of dynamism.
For train photography:
- Fast Shutter Speeds (1/500s or faster): Best for capturing high-speed trains without motion blur.
- Slow Shutter Speeds (1/60s to 1/10s): Useful during low light to illustrate movement, like the train’s motion across the landscape.
Choosing the correct shutter speed greatly influences how movement is portrayed in photographs.
ISO and Noise
ISO affects the camera sensor’s sensitivity to light. A lower ISO (e.g., 100) is ideal in bright conditions, providing cleaner images. Higher ISO settings (e.g., 1600 or more) are beneficial in low light but can introduce noise, which appears as graininess.
Understanding ISO is essential for training photographers who might be shooting in varying conditions. Balancing ISO with aperture and shutter speed ensures optimal exposure while minimising unwanted noise. Adopting these techniques will significantly enhance one’s photography skills.
Composition and Aesthetic
Effective composition is essential in train photography. It helps individuals create visually engaging images that convey a narrative. Key techniques include the rule of thirds, leading lines, and capturing the right light during golden hour.
Rule of Thirds and Framing
The rule of thirds divides an image into a 3×3 grid. Placing key elements along these lines or at their intersections can make a photo more balanced and dynamic. Photographers should consider the placement of trains, backgrounds, and landscapes.
Framing enhances this technique by using elements in the scene to create a border around the subject. This could be natural elements like trees or architectural features such as bridges. It directs the viewer’s focus and adds depth to the composition.
Leading Lines and Symmetry
Leading lines guide the viewer’s eye towards the subject. Tracks, roads, or fences in train photography can create a pathway that draws attention to the train. Using these lines effectively adds structure and interest to the image.
Symmetry also plays a vital role in composition. A symmetrical shot, where the train is centred between mirrored elements, can produce a striking visual appeal. This technique is often powerful in conveying stability and order within a chaotic environment.
Understanding Light and Golden Hour
Light significantly impacts the mood and quality of photographs. Photographers should observe how light interacts with the train and its surroundings. The golden hour, occurring shortly after sunrise and before sunset provides a warm, soft light that enhances textures and colours.
During this time, shadows become elongated, producing a dramatic effect. Photographers should position themselves to make the most of the light, highlighting the train and creating compelling images. Understanding these light nuances can transform an ordinary shot into an extraordinary one.
Equipment Essentials
Choosing the right equipment is vital for capturing stunning train photographs. This section focuses on essential camera types, the importance of stability, and useful accessories to enhance the shooting experience.
DSLR vs Mirrorless Cameras
DSLRs and mirrorless cameras are the two main types used for train photography. DSLRs are known for their optical viewfinders and robust battery life. They typically offer a wider selection of lenses and accessories, making them versatile for various scenarios.
Mirrorless cameras, on the other hand, are generally lighter and more compact. They utilise electronic viewfinders, providing a real-time preview of exposure and settings. This instant feedback is advantageous when shooting fast-moving subjects like trains.
Photographers should consider factors such as size, weight, and lens availability when choosing between these types. Each camera type has its strengths, so understanding personal preferences will lead to better decisions.
Using Tripods for Stability
A sturdy tripod is essential, especially when shooting at low light or slow shutter speeds. It helps prevent camera shake, ensuring sharp images of moving trains. When selecting a tripod, look for features like adjustable height, sturdy build, and a quick-release plate for easy camera mounting.
Recommendations for choosing the right tripod:
- Material: Aluminium is durable, while carbon fibre is lightweight.
- Weight Capacity: Ensure it can support the camera and lens.
- Portability: Compact models are easier to transport for long distances.
Investing in a good tripod greatly improves the clarity and quality of photos taken in various conditions.
Filters and Camera Accessories
Filters can enhance images by controlling light and improving colour saturation. Polarising filters are beneficial for reducing glare from reflective surfaces like wet tracks. Neutral Density (ND) filters allow for longer exposures, creating motion blur for moving trains.
Additional accessories that improve photography include:
- Lens Cleaning Kit: Keeping lenses free from dust ensures clear shots.
- Camera Bag: A weather-resistant bag will protect gear during outdoor shoots.
- Extra Batteries: Having spares is essential for long days of shooting, especially with electronic viewfinders.
Selecting the right accessories enhances creativity and flexibility in train photography.
Post-processing and File Formats
Post-processing is essential for enhancing train photographs. Understanding file formats and the capabilities of photo editing software can significantly improve the quality of the final image.
RAW Files vs JPEG
Choosing between RAW and JPEG formats is crucial for photographers. RAW files retain more image data, allowing for extensive editing without degrading quality. They provide greater flexibility in adjusting exposure and colour. This is particularly useful in train photography, where lighting can vary dramatically.
JPEG files, on the other hand, are compressed and less flexible in post-processing. They are suitable for quick sharing and smaller file storage but may lose detail in bright or dark areas. For photographers wanting to achieve the best results, starting with RAW is advisable, as it maximises editing potential.
Basics of Photo Editing Software
Familiarity with photo editing software is valuable for beginners. Adobe Lightroom and Photoshop are two popular choices among photographers.
Lightroom offers a streamlined workflow for organising and editing photos, making it ideal for batch editing. It includes tools for colour correction and adjusting exposure, catering to the needs of train photography.
Photoshop provides more advanced features, including layer manipulation and detailed retouching. Both programs have extensive tutorials available online, offering resources to help users develop their skills.
Colour Correction and White Balance
Correcting colour and adjusting white balance is critical in post-processing. An accurate white balance ensures that the colours in a train photo appear natural. This adjustment can prevent dull or overly warm images resulting from incorrect lighting conditions.
Using photo editing software, photographers can fine-tune white balance settings to match the scene’s lighting. This adjustment enhances the image’s overall look, making trains stand out against their surroundings.
Colour correction involves adjusting saturation, contrast, and vibrance. These tweaks can significantly impact the mood of the photograph. A careful approach will draw attention to trains and their surroundings, making the image more compelling without being overly exaggerated.