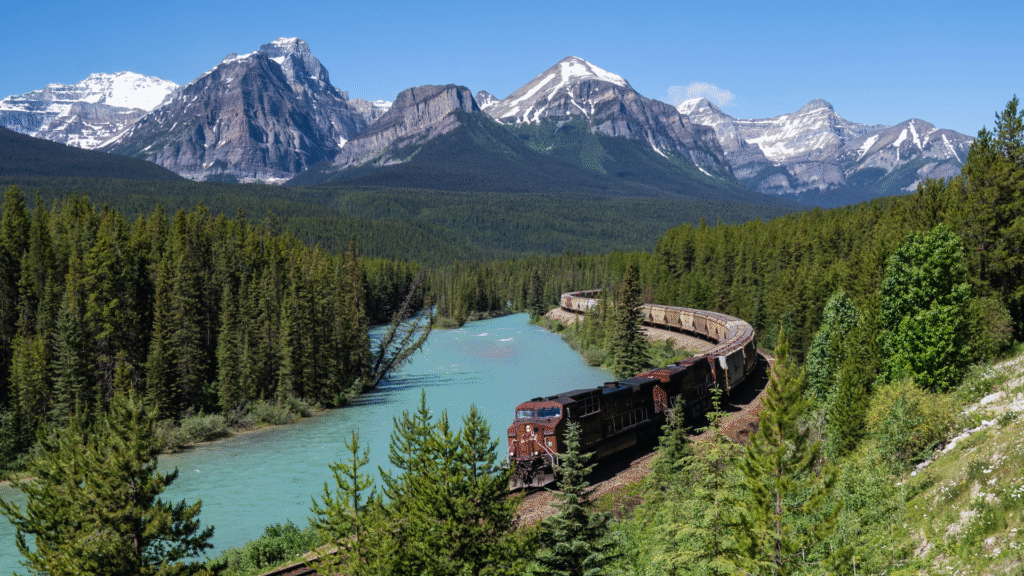

Photographing moving trains requires a blend of technical skill and timing. It’s not just about capturing a fast subject but creating a sharp, dynamic image that shows motion effectively. Using a fast shutter speed or panning correctly is key to producing crisp photos of trains in motion.
Understanding the right camera settings and anticipating the train’s speed and direction helps achieve professional results. Proper focus techniques and composition also play an important role when shooting at high speeds.
This guide breaks down practical tips that anyone can apply to master train photography. It helps enthusiasts capture the power and grace of trains without blur or loss of detail.
Essential Equipment for Photographing Moving Trains
Capturing sharp images of fast-moving trains requires specific tools that balance speed, stability, and flexibility. The right camera and lenses, combined with supportive accessories, help photographers anticipate and freeze action effectively in varied lighting and environments.
Choosing the Right Camera and Lenses
A camera with fast autofocus and a high frame rate is essential. DSLR or mirrorless models with continuous shooting modes allow multiple frames per second, increasing the chance of a crisp shot. Full-frame sensors perform better in low light, which is common around railways.
Lenses between 24mm and 70mm focal lengths give versatility, covering wide-angle shots to standard telephoto views. A wide-angle lens is useful for capturing the environment and dynamic perspectives of trains in motion. A lens with a wide aperture (f/2.8 or larger) ensures faster shutter speeds to freeze movement.
Prime lenses are sharper but less flexible, while zoom lenses provide adaptability in framing without moving. The lens stabilisation feature can help reduce blur, but it is less effective with very fast trains.
Tripods and Stability Tools
A sturdy tripod is vital for stability, especially during slower shutter speeds. It prevents camera shake when tracking a moving train or using panning techniques. Lightweight carbon fibre tripods are preferred for portability and strength.
Using a tripod with a fluid head enables smooth horizontal motion, allowing the photographer to follow trains effortlessly. However, handheld shooting with excellent image stabilisation can be effective when quick repositioning is necessary.
Additional tools like monopods offer a compromise between stability and mobility, and remote shutter releases reduce vibrations caused by button presses.
Filters and Accessories
Neutral Density (ND) filters help control shutter speed by reducing light intake without affecting colours, ideal for motion blur effects. Polarising filters reduce glare from metallic surfaces or reflective windows, enhancing detail and contrast.
Lens hoods prevent lens flare, especially on sunny days beside reflective tracks. Extra batteries and memory cards are essentials, as continuous shooting drains power and fills storage quickly.
Carrying a rain cover or weatherproof bag protects equipment from the unpredictable outdoor conditions near railways. These basic but targeted accessories ensure consistent performance during demanding shooting sessions.
Mastering Camera Settings and Techniques
Capturing moving trains requires careful control of exposure and focus. Adjusting shutter speed, aperture, and ISO directly affects the sharpness, motion effect, and image clarity. Precision in manual focus ensures the train stays crisp despite the speed.
Shutter Speed: Freezing or Blurring Motion
Shutter speed controls whether the moving train appears sharp or blurred. A fast shutter speed (1/1000 second or faster) freezes motion, capturing every detail crisply. This is ideal for bright conditions or high-speed trains.
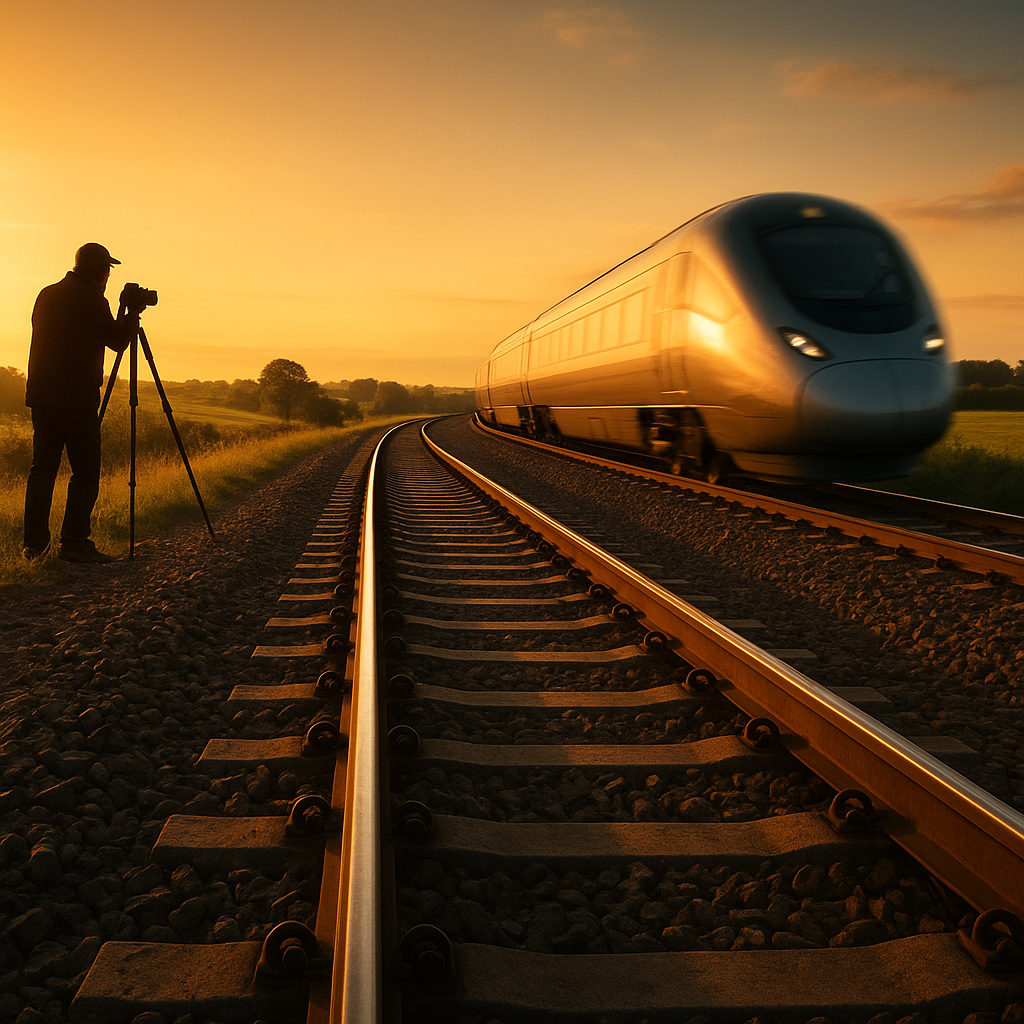
To create motion blur for a dynamic effect, slower shutter speeds (1/30 to 1/125 seconds) work well. Using panning with the moving train at these speeds will blur the background but keep the train reasonably sharp. Stability is key to avoiding unintended camera shake.
Aperture and Depth of Field Choices
Aperture affects depth of field and exposure. Using a smaller aperture (f/8 to f/16) keeps more of the train and surroundings in focus, useful in landscape shots including the train. It also helps to compensate for bright daylight.
A wider aperture (f/2.8 to f/5.6) isolates the train by blurring the background, ideal for emphasising the subject. Aperture must be balanced with shutter speed and ISO to maintain correct exposure.
ISO and Noise Management
ISO determines the sensor’s sensitivity to light. Low ISO values (100-400) produce cleaner images with minimal noise and are preferred in sunlight or bright conditions.
Raising ISO helps in low light but increases noise, which can degrade image quality. Noise reduction techniques in-camera or in post-processing help, but it’s best to avoid high ISO except when necessary to maintain a fast shutter speed or proper exposure.
Manual Focus and Precision
Manual focus ensures sharpness on the moving train, especially in challenging lighting or when autofocus struggles with speed. Pre-focusing on a point where the train will pass reduces focus hunting.
Using live view with zoom helps fine-tune manual focus. This is critical when shooting at wide apertures with shallow depth of field or low light, preventing out-of-focus shots.
Shooting Strategies for Professional Train Photos
Successful train photography relies on precise planning and adapting technical skills to the environment. Choosing the right setting, understanding natural light, and composing effectively will enhance the quality of moving train shots.
Location Scouting and Timing
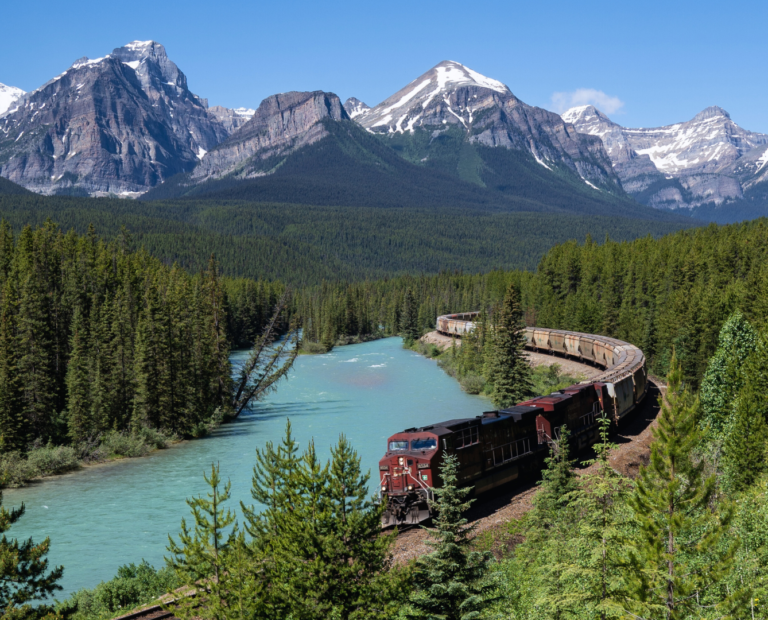
He should study local railway maps and access points before the shoot. Ideal locations often include bridges, curves, and elevated angles that reveal the train’s length and surroundings.
Arriving early is critical. The golden hour—shortly after sunrise or before sunset—provides softer light and longer shadows, improving detail and depth. Checking train schedules helps anticipate exact timing, reducing missed opportunities.
Safety is paramount. Observing railway regulations and keeping a safe distance ensures a secure experience while capturing compelling images.
Working with Light and Weather
Light direction and intensity affect the final image. Side lighting accentuates textures and contours on the train’s body. Overcast conditions offer diffused, even lighting that prevents harsh shadows but may reduce contrast.
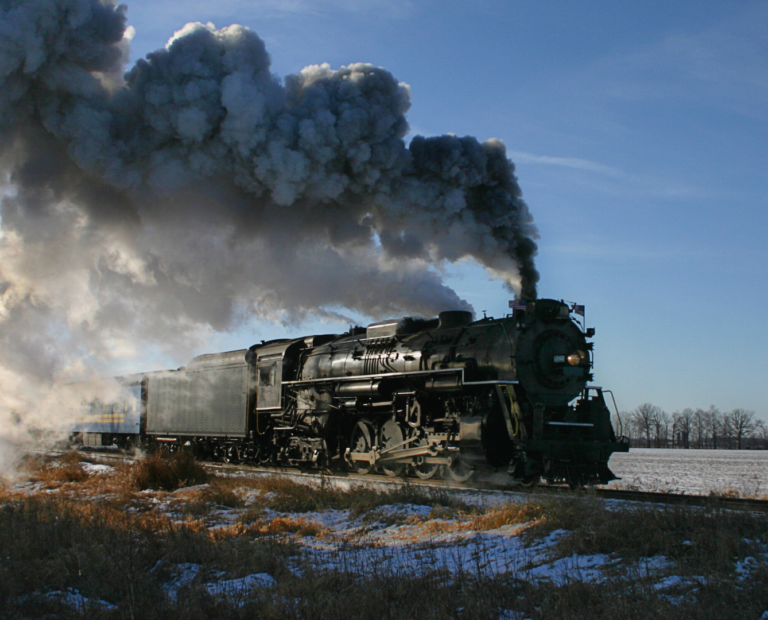
Weather adds mood and atmosphere. Mist and rain can create dramatic effects, but equipment must be protected. Using faster shutter speeds counters motion blur in low light, maintaining sharpness.
He should adjust ISO and aperture accordingly to balance exposure, avoiding blown highlights or deep shadows.
Capturing Dynamic Compositions
Composing to convey movement is essential. He should position the train off-centre following the rule of thirds to suggest direction. Including foreground elements, such as tracks or signals, lends depth.
Panning the camera to follow the train creates motion blur in the background while keeping the subject sharp, emphasising speed. Experimenting with angles—low or high—offers unique perspectives.
He can also capture multiple frames in burst mode to select the best moment, especially when photographing fast trains.
Post-Processing to Elevate Your Train Images
Post-processing focuses on sharpening image quality and refining details to create striking pictures. Effective editing emphasises clarity, reduces distractions like noise, and adds polish through precise adjustments.
Reducing Noise and Enhancing Clarity
Noise often appears in images taken at high ISO settings or in low light, causing graininess and reducing detail. The photographer should use noise reduction tools to selectively smooth out grain without blurring key details like rails and train textures.
Software like Adobe Lightroom offers sliders for Luminance and Colour Noise Reduction. Increasing luminance noise reduction removes grain but risks losing fine edges, so it should be balanced carefully. Decreasing colour noise reduces random colour speckles while preserving sharpness.
Clarity adjustments help enhance textures and edges. Boosting clarity slightly creates a crisper look by increasing mid-tone contrast. However, overdoing it can make the image appear unnatural, so moderation is crucial.
Using Photoshop for Final Touches
Photoshop provides advanced controls for final refinements, such as local adjustments and spot removal. Using the Healing Brush or Spot Healing tool, photographers can clean up dirt, sensor spots, or distracting elements near the train.
Layer masks allow targeted edits, adjusting exposure, contrast, or sharpness only on selected areas, like the train itself, without affecting the background. Using Smart Sharpen carefully enhances details while minimising edge halos.
The Camera Raw filter in Photoshop offers noise reduction and clarity sliders similar to Lightroom. Photographers can combine these features to enhance parts of the image selectively, achieving professional-level results that highlight moving trains realistically and clearly.